This is the time of year where many of you may be starting to think about spring boat maintenance, if you haven’t already, and I’d like to tell you about one of the most common issues I have seen over the years during my time at the resort.
Typical boats can have anywhere from 1 to 5 marine batteries. I would have to say that boat batteries are the most neglected/overlooked piece of equipment in most boats. Despite batteries being the lifeline of your engines, trolling motors, and graphs, many boat owners don’t give them the attention they need to keep them in optimal condition.
Even those that have their service work done by a marine dealer/repair center, etc have issues with their batteries. I have seen very, very few batteries come from being serviced that look like they have been properly inspected or maintained. At best, they seem to get checked for a full charge or enough charge to run everything that needs to run, but not properly gone over to ensure for a trouble free trip or season. In fairness, a battery can test well in spring and go bad during any given season, but many potential issues can be spotted with proper service/maintenance.
In fairness, it does take some time to properly check a battery to determine it’s sea-worthiness for another season. If a dealer/service center is doing spring service work on 100 boats, they could be looking at 200-400 batteries so it would slow down the process a lot over the case of a spring.
Therefore, I would strongly suggest you check batteries out for yourself so you know exactly where you stand before you head out on your summer vacation and have an expensive problem. There will always be someone happy to sell you some batteries if need be, but keeping these extra costs out of your vacation budget whenever possible would be preferential to most boat owners.
NOTE: I suggest disconnected and removing all batteries prior to performing this maintenance.
Step 1: Identify Battery Type
There are several types of batteries on the market, but for the sake of simplicity, we’ll break it down to the 2 main categories: Maintenance Free or Not Maintenance Free.
A maintenance free battery will not need a fluid check. Any battery that is not maintenance free will require a fluid level check under the caps that cover the fluid cells.
If your battery is maintenance free, you can move along to the next step in the process. If your battery is not maintenance free, you will need to check your fluid level. Fluid levels are often a problem for those that don’t do their own servicing. One memorable issue I helped a customer with once went like this…..
- Customer: My trolling motor doesn’t seem to be turning properly, but I charged all the batteries last night and put a new battery in my auto-pilot remote.
- J-Man: When is the last time you checked the fluid levels in your batteries?
- Customer: Fluids? What do you mean?
- J-Man: Oh boy. We better look at that first.
I knew this customer had owned the boat 3-4 years after buying it used. Apparently, he hadn’t changed/checked any of the 3 batteries that came with it when he bought it used. The boat had 3 batteries (2 trolling motor, 1 starting) and all 3 batteries were bone dry of fluid. That is 6 cells per battery and all 18 cells did not have a drop of fluid in them. I sold him 3 brand new batteries, installed the batteries properly for him, and they were back in the saddle without further delay.
This is an example of someone that had servicing done by a dealer that obviously did not include proper battery maintenance.
A battery that has fluid will need to be checked at least annually to be sure the levels are topped up. Anytime it is a bit low, distilled water should be added as required before putting on a charger to ensure it gets a full charge.

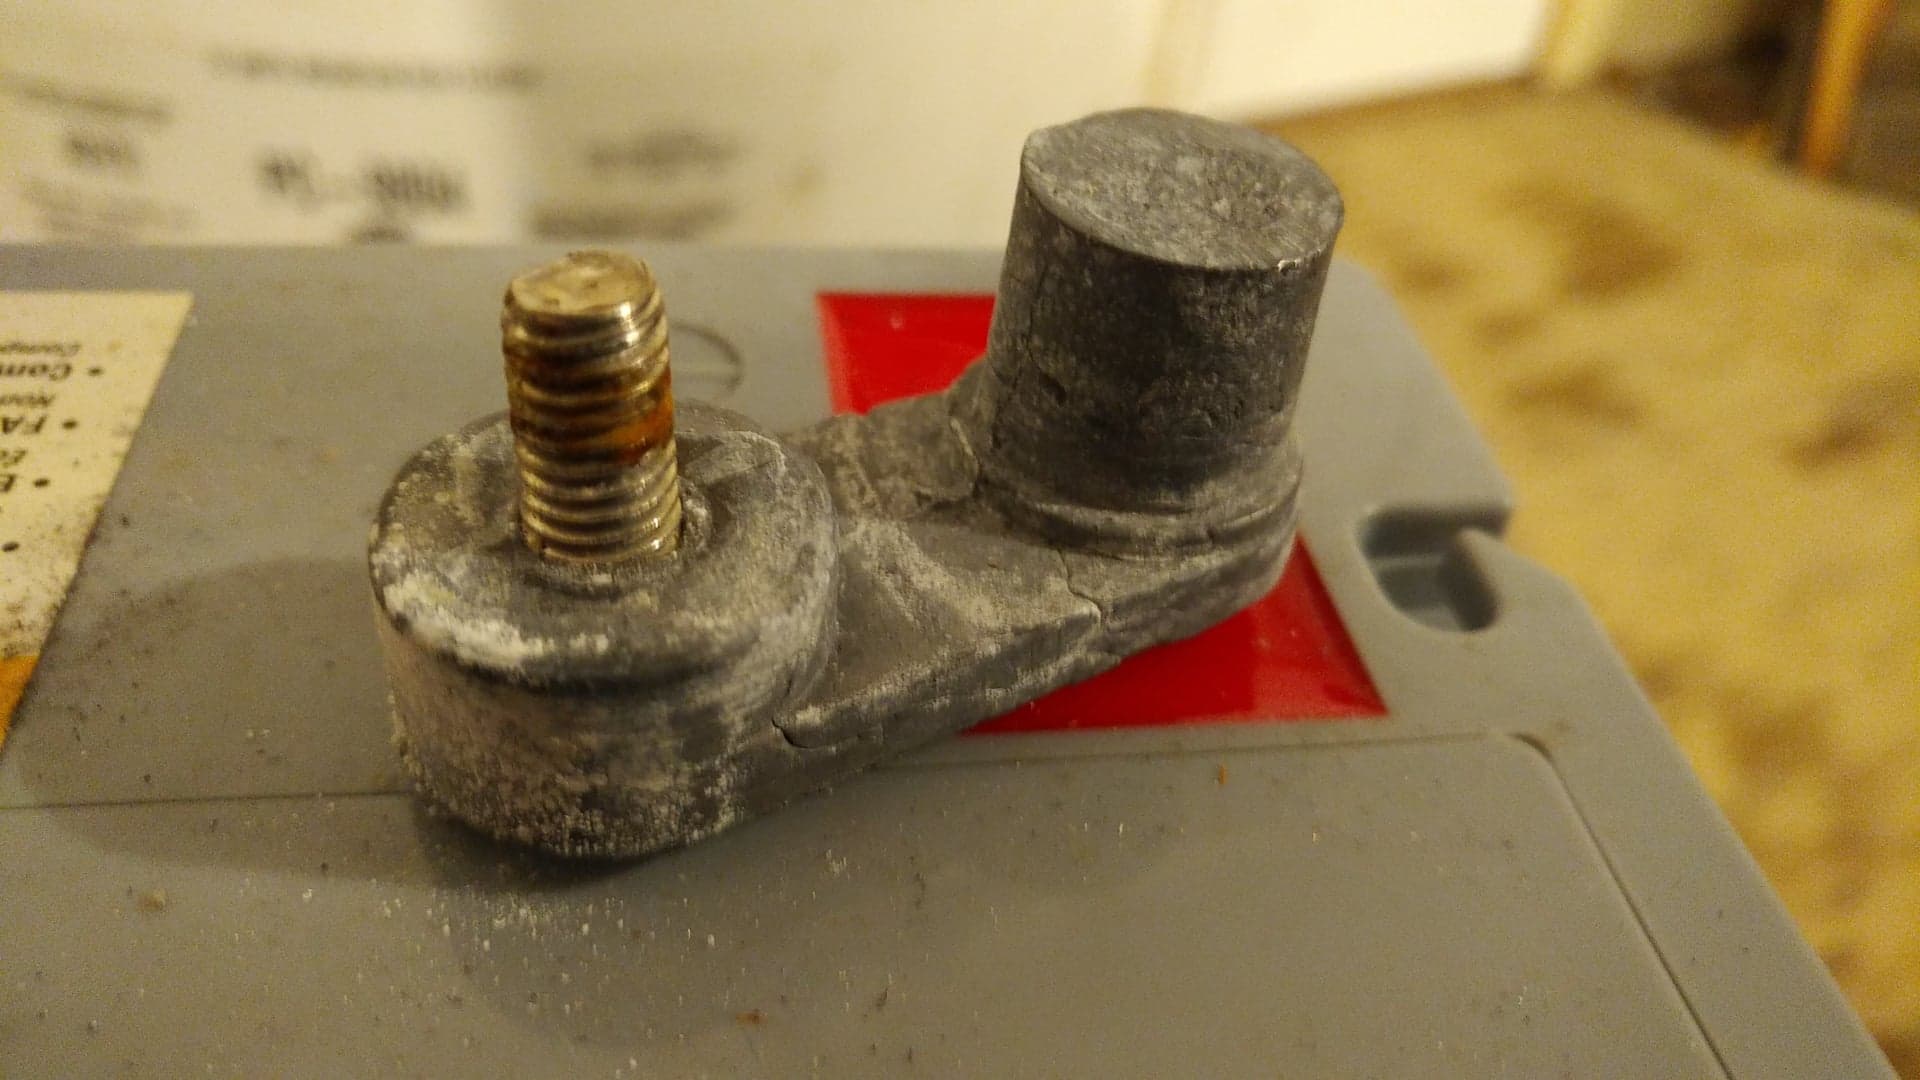
Step 2: Clean/Shine Battery Posts and Connections
Any kind of corrosion/grime/gunk/rust that accumulates on your battery post will create difficulty in transfer of battery power to the connected equipment. The more gunked up your posts and connections are, the less power will transfer to your graphs, trolling motors, starters, etc. Eventually, this cause problems that present as dead batteries. It can put strain on your equipment and cause batteries not to charge properly/fully. This can damage your batteries, equipment and charger. Non of which is fun to deal with, but even less-so when on vacation.
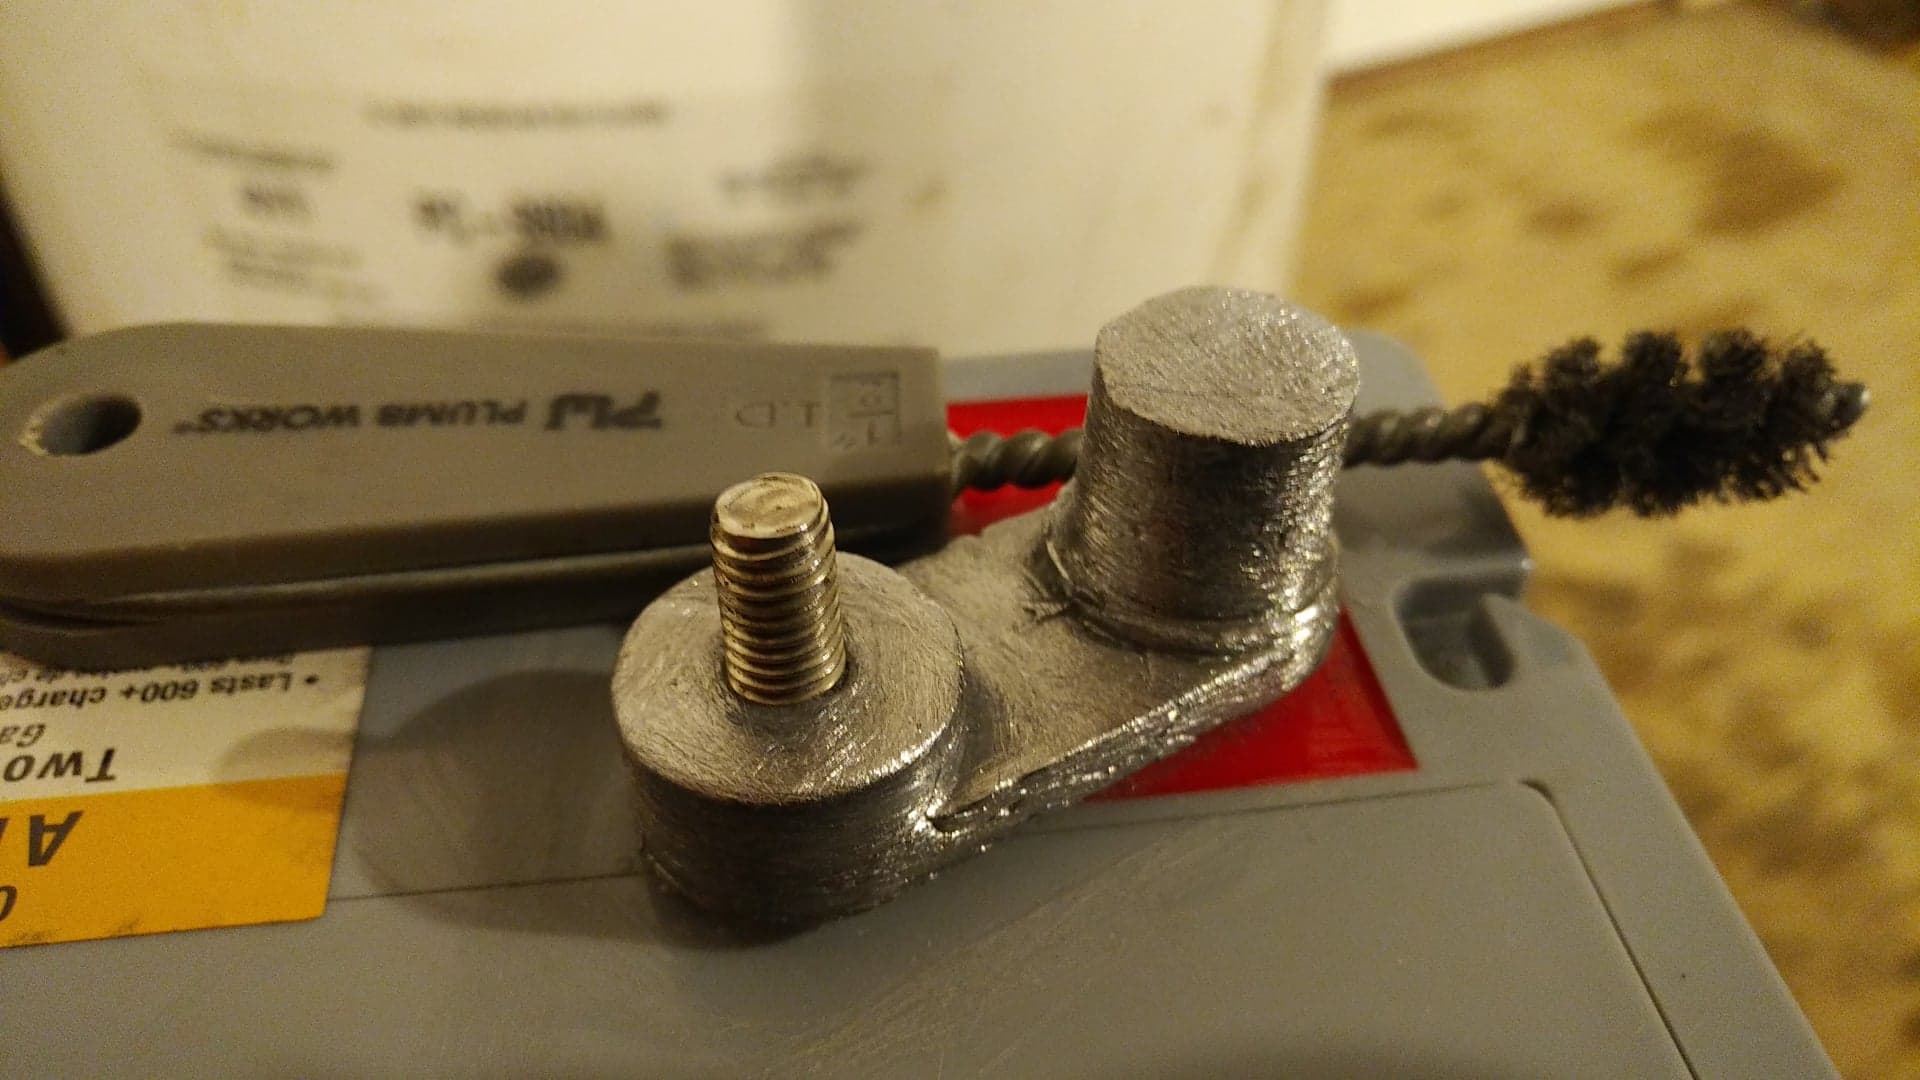
Over the years, I have used a battery post cleaner and sandpaper to clean posts and connections. More recently, I have been using a wife brush that is sold as a plumbing tool for cleaning/shining up copper pipe. The wire brush tool has been great for shining up posts and connections quicker and easier. See below for some befores and afters of somewhat dirty posts. These posts are quite clean compared to many I have witnessed over the years.

STEP 3: Testing, Charging, Testing Again, Load Testing
All testing can be done with either a basic digital amp meter. Charging can be done with any battery charger. Load testing will give you a reading on the overall condition of your battery and its ability to keep power supplied at a steady level while under the load your equipment will put on it.
Testing: Setting your amp meter to the DC option will allow you to get a battery reading. A fully charged, properly functioning marine battery should read over 13 volts. A reading with a digital amp meter also allows you easily observe if your battery refuses to take a charge. After hours on the charge, if your battery reads the same (and assuming your charger is working properly), if your battery will not accept a charge, you can junk it for a replacement.
Charging: Ideally, you will use a low amp or trickle charge to top your batteries up in the spring or fall. Any charger that allows for 12 volt, 2 amp charging is a good option. Battery chargers can include auto settings as well as different volts and amp charging levels so be sure you select the proper setting for your battery. A longer/slower charge is best in spring and fall when you want to check the status of your battery.
Testing Again: Always do another quick check after charging to ensure the battery topped up properly. If it remains short of the 13+ volts, it may be on its way to being replace. The battery may be good for other situations, but you won’t want it in your boat much longer.
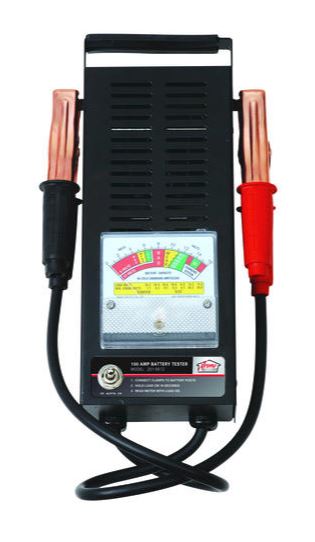
Load Testing: If you own a boat, especially a boat with multiple batteries, a load tester is a great investment to keep in the garage. After checking/topping up fluids (if necessary), cleaning/shining your battery posts, and trickle charging your battery to a full charge, it’s time to see if your battery can handle the load your equipment is going to give it. This process is as simple as hooking positive to positive, negative and negative, toggling the load switch, and holding it for a few seconds to keep the load applied to the battery. A load tester will put an artificial load on your battery and you can watch the needle hold, drop slowly, or bottom out as soon as it is given a load. The style of load tester I like is an analogue unit that will allow you to watch the needle as the load is applied. It it stays within green, your battery should be good to go for the time being. If it drops into yellow, your battery is starting to get weak and you might want to replace if before your next vacation trip that will have you using it hard for a few days or more. If the needle bottoms out into the red, then your battery is toast and needs to be replaced.

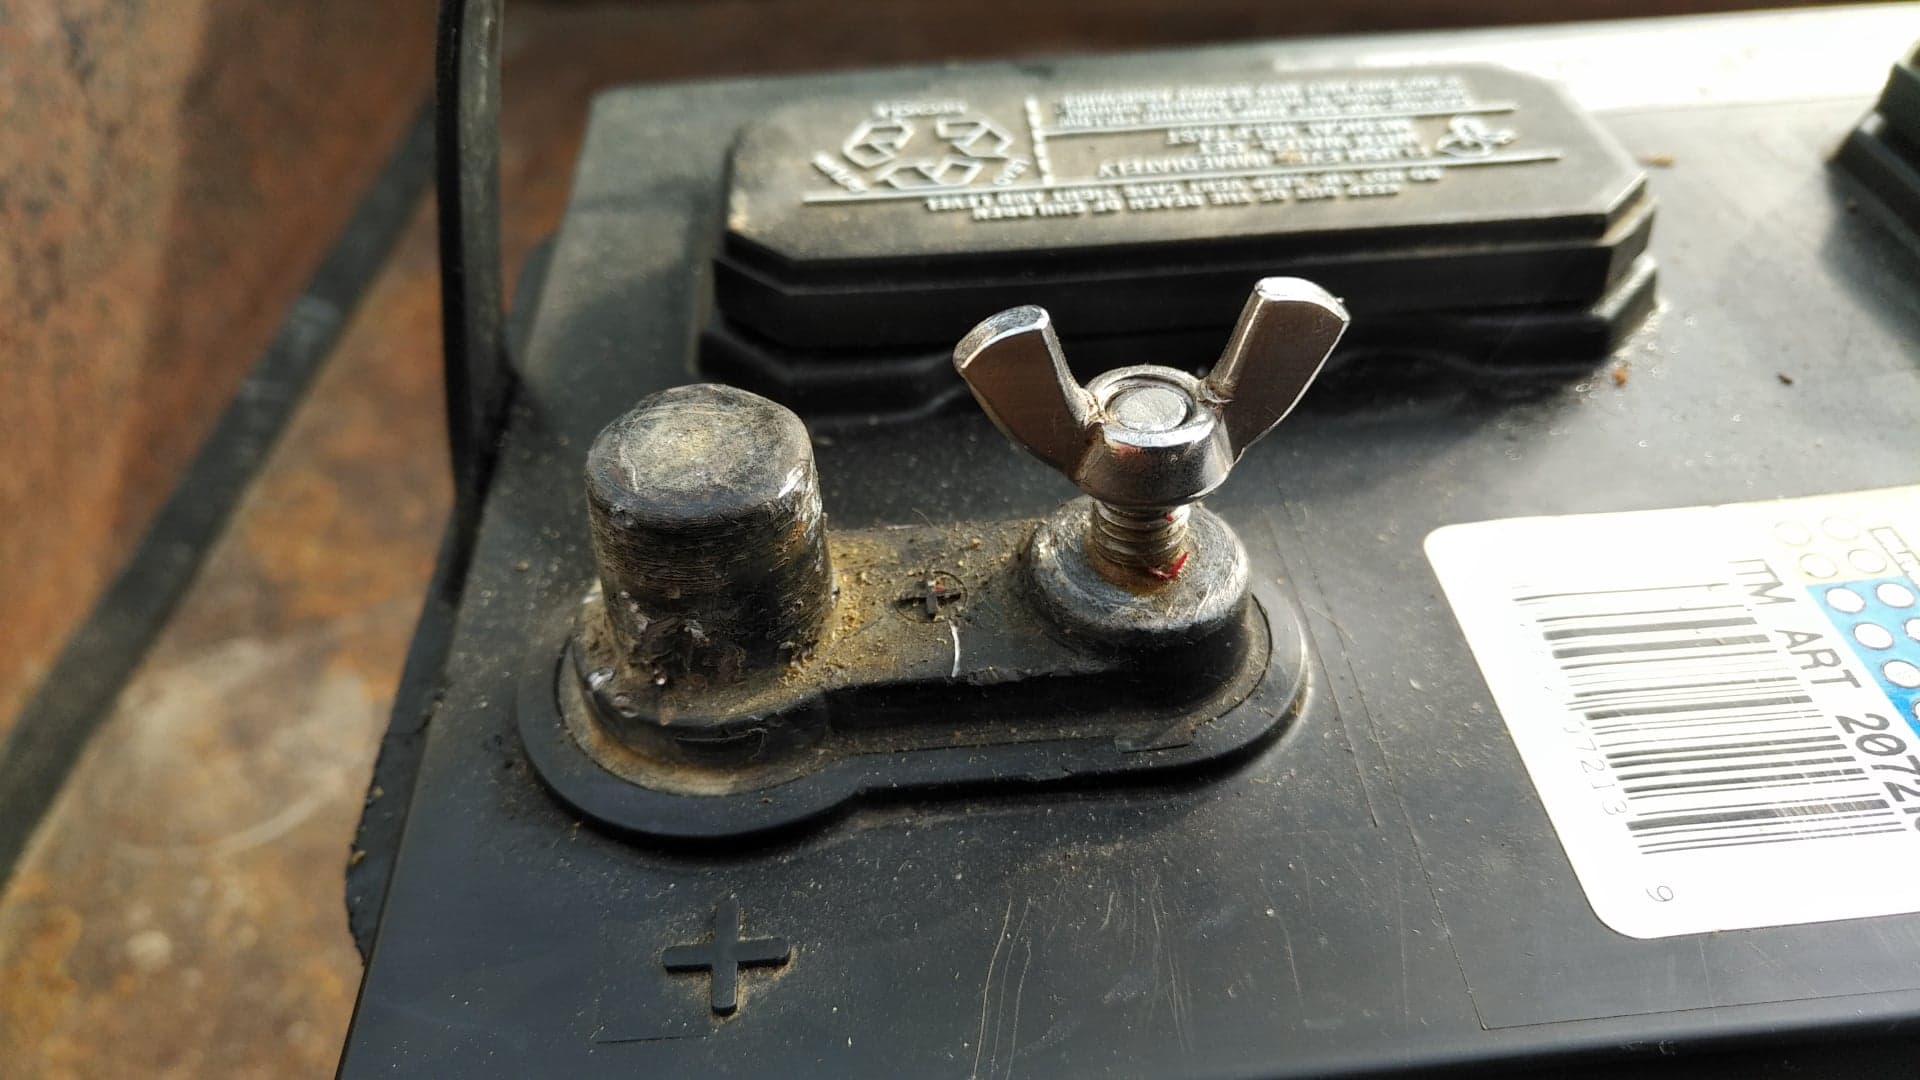
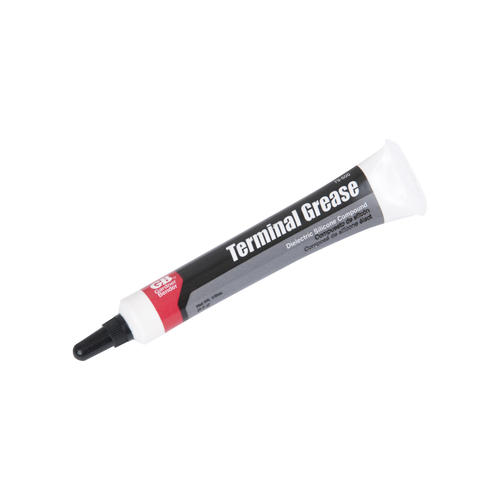
STEP 4: Grease and Go
I highly recommend this last step as a way to prevent corrosion and gunk build-up throughout your boating/fishing season. Applying some dielectric grease so your battery posts and connections is a great way to ensure the power flows fully and freely from your batteries to their connected equipment. All you need is a small tube and you are set for multiple seasons worth of greasing your battery posts and connectors. Once you have greased and hooked them up, a little snugging with a wrench or pair of pliers will keep your batteries nice and tight for a season’s worth of making memories. The occasional peak-a-boo at your battery posts is never a bad idea as the season moves along would be wise, of course.

STEP 5: Recyle Old Batteries
All old/junk batteries should be kept so you can exchange them for a core refund when purchasing a new battery. This will save you $$$.
STEP 6: Get On the Water!!
DISCLAIMERS!!
J-Man is not a professional anything. All knowledge imparted in this post was gained through good advice, experience and self study. Please check with a professional service technician if you are concerned about any of the information in this blog post.
All these things have helped J-Man’s personal boat, the resort boats, and guests too numerous to count, have positive experiences with their batteries over the years.
J-Man was a dunce when he started working at the resort. The first time he used a load tester and held if on load for longer than 5-6 seconds, the tester started to smoke a little. Concerned about burning the resort down, remain doused the brand new load tester with water until he was sure the potential fire hazard was eliminated. A short time later, J-Man came to understand this was a normal part of the load testing process when testing for a longer period than 4-5 seconds. Thankfully, the water-doused load tester continued to work for 10 years or more. The above picture loaded tester is therefore, nearly idiot-proof. J-Man does not suggest submersing your load-tester in water though. Been there, done that. If J-Man can learn this stuff, you can too!!
